The Legs
For this activity, I want you to just learn what the bones of the leg are and their correct positioning. Normally I have students build a skeleton for me out of disarticulated bones and then I go through with them the names of the bone and the proper orientation.
| Instructions | Video |
|---|---|
|
Landmarks of the limbs
We will look at each bone below. I set up the lab to take you to these pages too. I am not sure if which is easier. For each part, you will look at the watch my video and find the structures on the rotating model. Then you will find the structures on the mouse over model.The Pelvic Girdle |
||
|---|---|---|
| Text Blurb | 360 model | mouse over model |
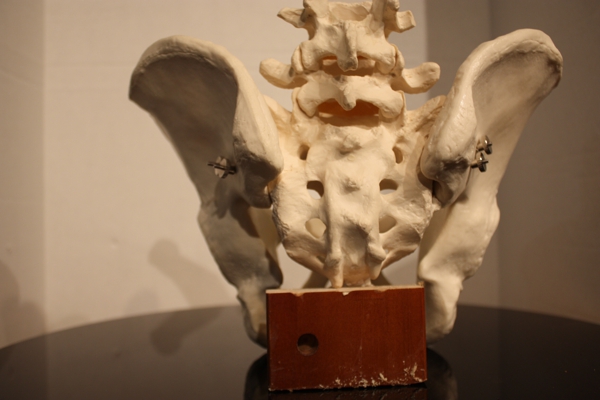
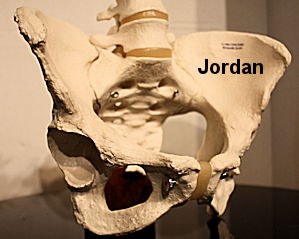
The Os Coxae
|
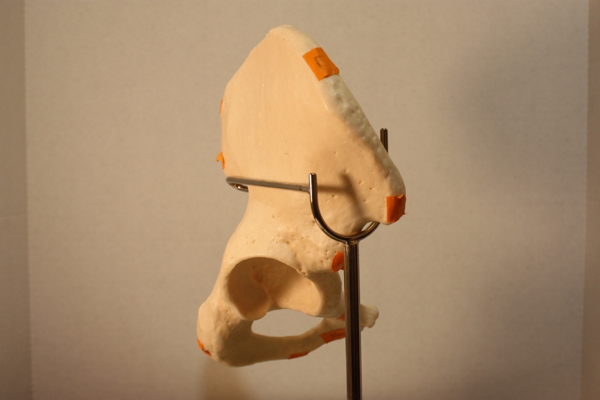 Os Coxae | 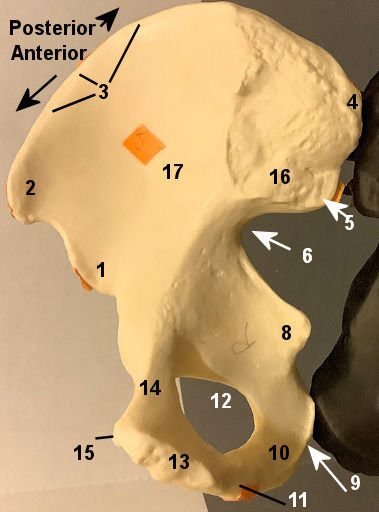 hip |
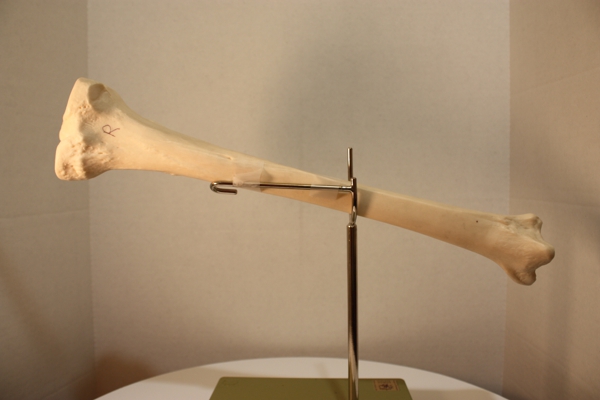
The Femur |
||
| Text Blurb | 360 model | mouse over model |
The Femur
|
 Femur |
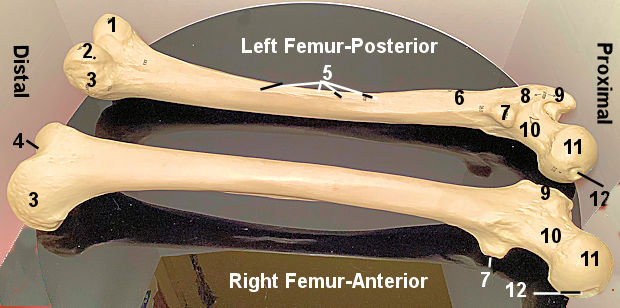 Femur |
The Lower Leg |
||
| Text Blurb | 360 model | mouse over model |
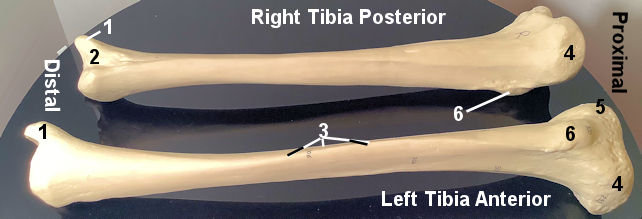
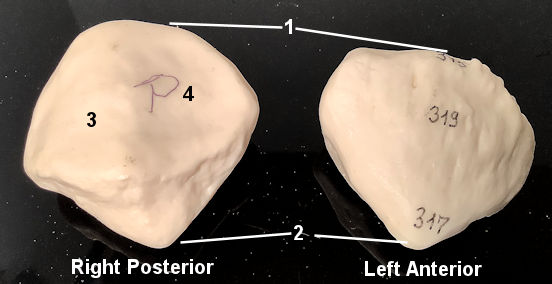
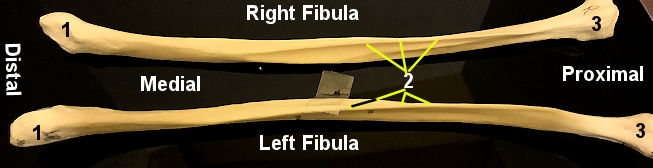
Tibia, Fibula and Patella
|
 |
 Tibia |
 Patella |
 Fibula |
 Fibula |
The Foot |
||
| Text Blurb | 360 model | mouse over model |
The Foot
|
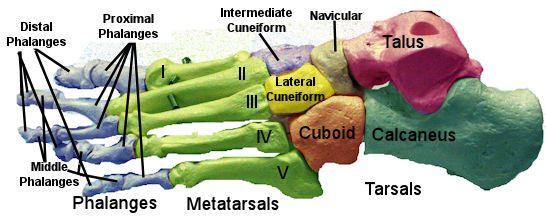 Foot |
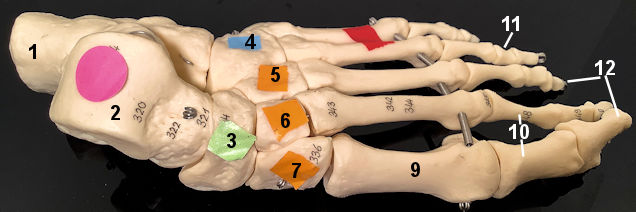 foot |
Male vs Female |
| Text Blurb | 360 model | Acitivity |
Male vs femalet
|
360 models |
 activity |