Landmarks of the limbs
We will look at each bone below. I set up the lab to take you to these pages too. I am not sure if which is easier. For each part, you will look at the watch my video and find the structures on the rotating model. Then you will find the structures on the mouse over model.The Pectoral Girdle |
||
|---|---|---|
| Text Blurb | 360 model | mouse over model |
Clavical and scapula
|
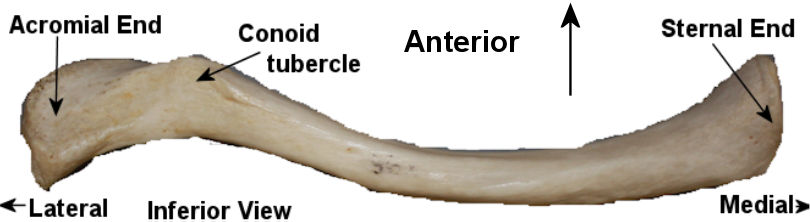 clavicle |
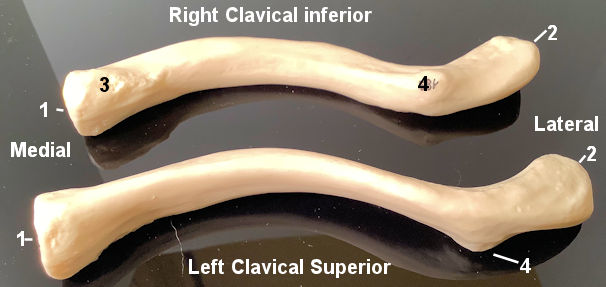 Clavicle |
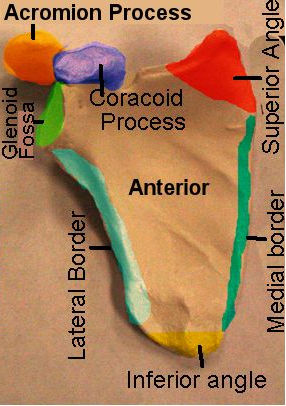 Scapula |
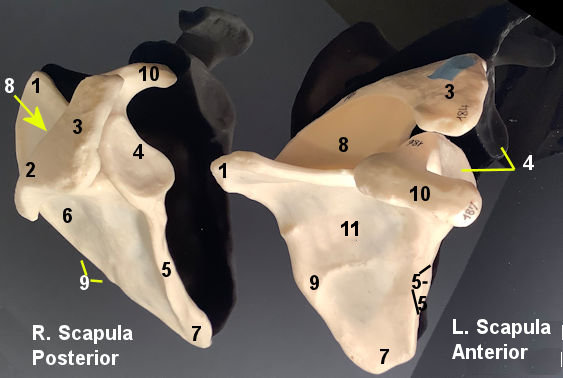 scapula |
|
The Upper Arm |
||
| Text Blurb | 360 model | mouse over model |
The Humerus
|
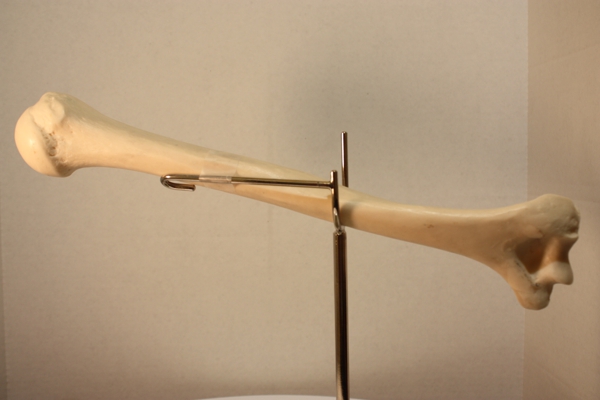 Humerus |
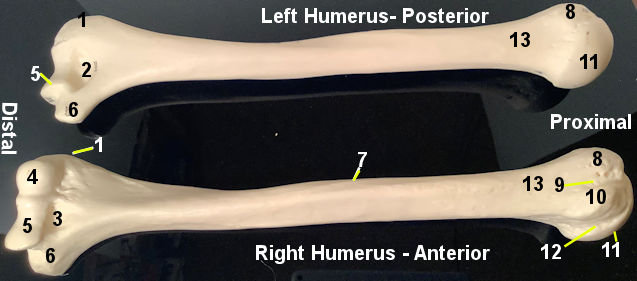 Humerus |
The Lower Arm |
||
| Text Blurb | 360 model | mouse over model |
Radius and Ulna
|
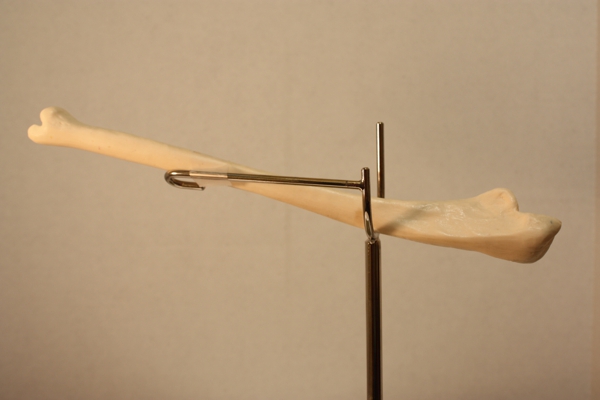 Ulna |
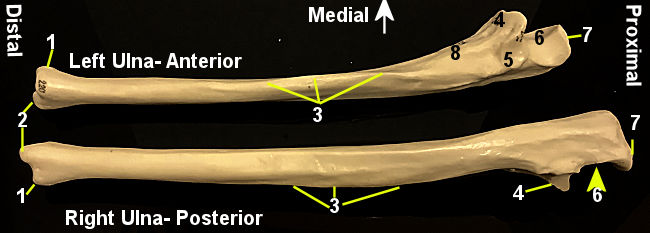 Ulna |
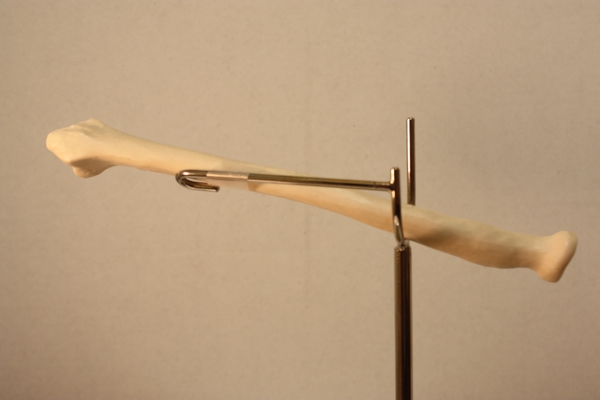 Radius | 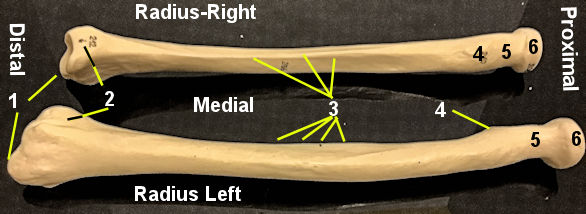 Radius |
|
The hand |
||
| Text Blurb | 360 model | mouse over model |
The Hand
|
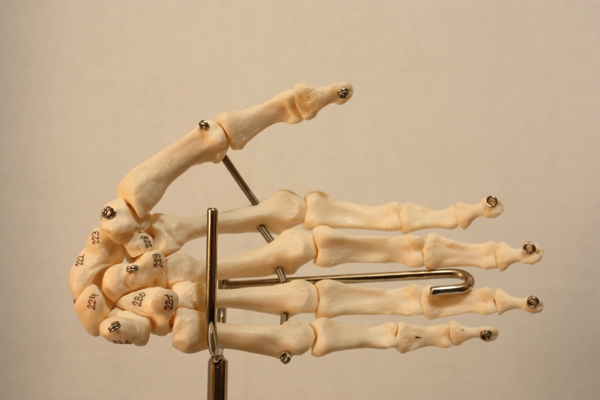 Hand | 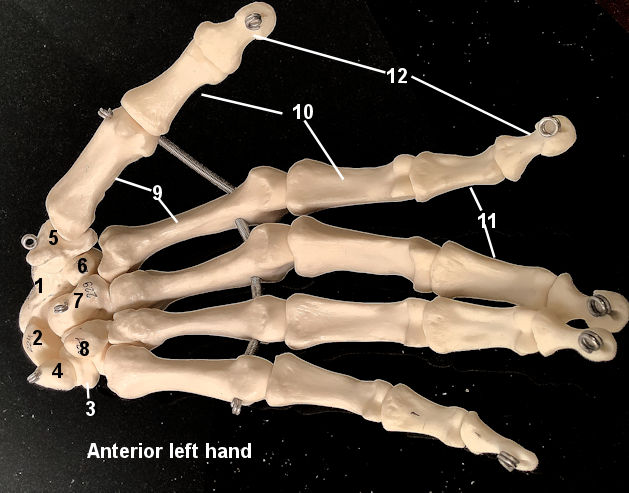 hand |